Download as PDF

The Dashboard

This screen will welcome you after you have successfully logged into the Editor. This view, called “Dashboard”, provides the user with different functionalities (“widgets”). These widgets can show the user aggregated information at a glance, help him to resume work faster or provide him with functions for editing data.

You have the possibility here of dragging new widgets onto the Dashboard and also of changing the background. You can still get to all functionalities of the Editor from here.

In order to activate a widget, please click on a free space on the Dashboard and drag the desired widget from the list open at the lower side of the screen to the desired place. While dragging, the widget to be added sticks to the cursor. WidgetsAt the same time, a small raster can also be seen in the upper left-hand corner of the widget, indicating the minimum amount of space the widget needs. When dragging over the Dashboard raster the rasters are highlighted which the widget would take up in the current cursor position. If the widget does not fit into this position, then the rasters are not highlighted. If there is no more space on the current page, then you can go up to the page numbers while dragging and stay on a non-activated page. After a short time the page will change and you can drop the widget there if necessary. Alternatively, you can also add a widget by clicking on the button “add” in the selection list. The system will try to find an appropriate place on the current page. If this is not possible, then it will search on the following pages, create a new page if necessary and switch to this page.

The position and page for each widget can be changed by dragging & dropping. You can start dragging a widget by clicking on the head area of the widget.

If you wish to remove a widget, then you need to right-click on the head area of the widget. A context menu will appear. With the context menu item “remove”, you can delete the widget from your Dashboard. If the widget is removed, then user-defined settings or data of this widget will also be deleted.

Moreover, you can personalise your start screen, where you can change the background image. You can see which background images are available and can be used through opening the context menu of the Dashboard tabs. In the context menu there is an item “Background images”. All possible background images are listed under this point and can be selected.

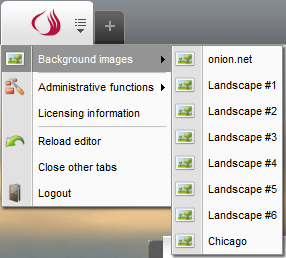
The configuration of the background images is performed by the administrator in the Editor configuration. Personal background images cannot be uploaded.